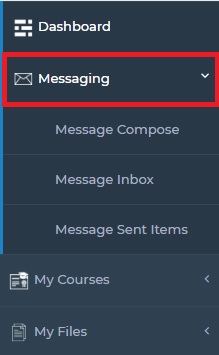
What is Messaging?
- Messaging option can be used to communicate with registered users in the LMS, you can send emails or short messages.
Sending a Message
- Click Message Compose
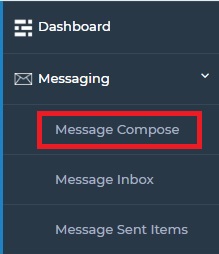
- You will get the following screen
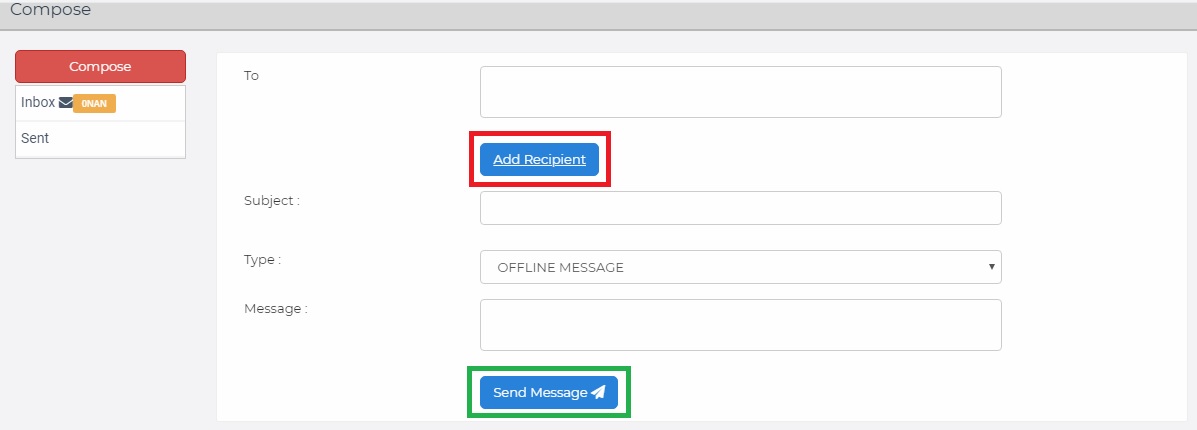
Figure 13 - Message compose view
Outline Colour |
Feature |
Red Colour |
Select Recipient/s |
Green Colour |
Send Message |
- To: Add the email addresses of the recipients, by clicking Add Recipient button
- Subject: Type a meaningful title
- Type: You can select the method of communication, OFFLINE MESSAGE/EMAIL
- Message: Type the message you want to communicate
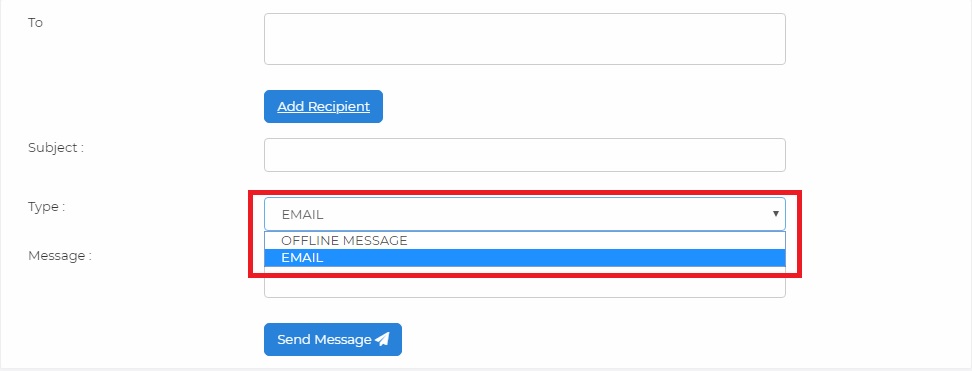
Figure 14 - Select message type
Inbox
- Inbox is the place where the LMS stores your received emails
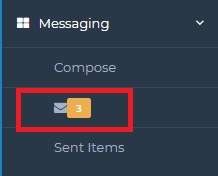
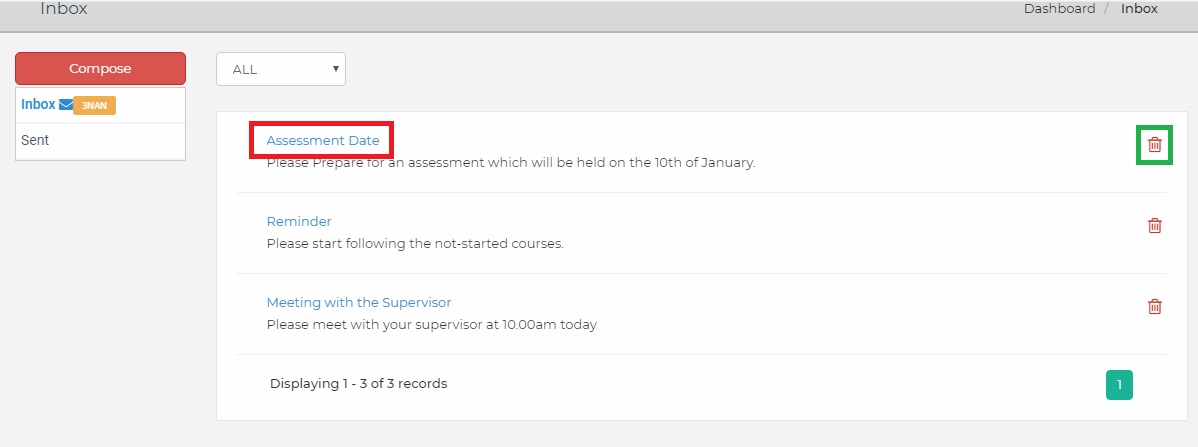
- Following colours are used to understand the Inbox window, given after the table.
Highlighted Colour |
Feature |
Red Colour |
User Can view the whole message by clicking on the highlighted area |
Green Colour |
User can delete a message by clicking on the delete icon |
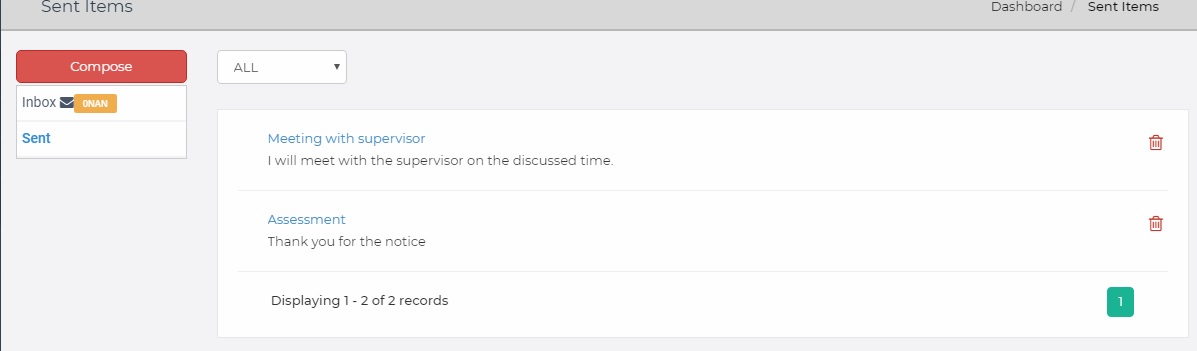
Sent Items
- A copy of emails you have sent are stored here.
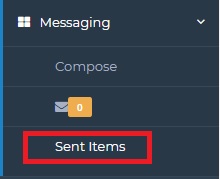
- When Sent Items is clicked, following screen appears.
Created with the Personal Edition of HelpNDoc: Free PDF documentation generator